Introduction
Welcome to our guide on using a handheld laser welding machine. This comprehensive tutorial will walk you through the entire process, from setting up the equipment to adjusting parameters for different welding thicknesses. By following these steps, you’ll ensure a smooth and efficient welding experience.
Step 1: Connect the Equipment


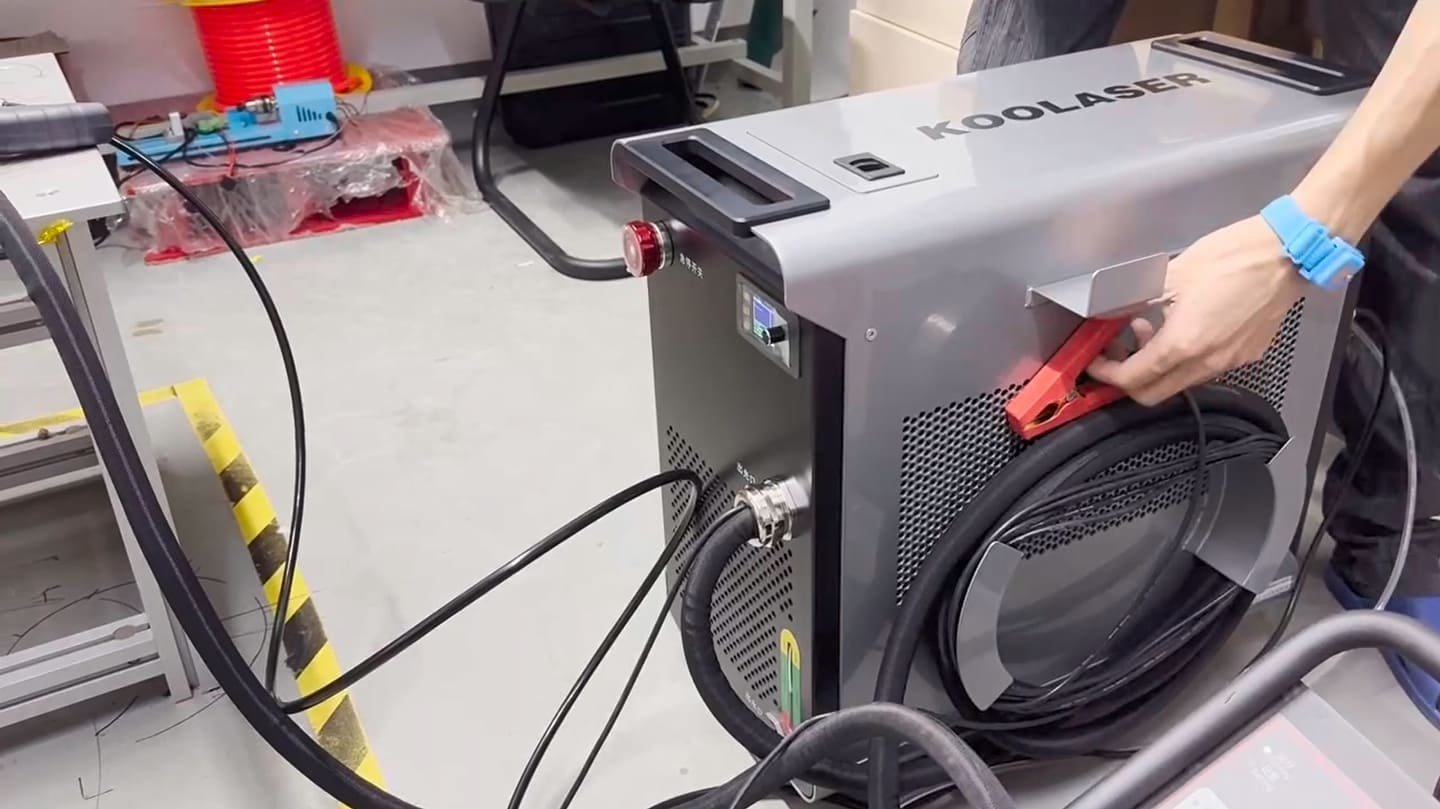
- Power Cord: Connect the power cord to the welding machine.
- Wire Feeder and Protective Gas: Attach the wire feeder (including the welding torch) and connect the protective gas supply. Turn on the gas valve.
- Safety Grounding Line: Attach the safety grounding line (alligator clip) to the workpiece or welding table.
Step 2: Set Parameters
For 0.5mm Welding Thickness:


- P1 Mode:
- Adjust power.
- Rotate the voltage knob to 5V.
- Keep the current at 20mA.
- Press confirm and then set to exit the mode.
- P2 Mode (Pulse Adjustment):
- No settings needed.
- P3 Mode:
- Rotate the voltage knob to 5V.
- Keep the current at 20mA.
- Return to P1 and press the knob to confirm.
For 0.8mm Welding Thickness:


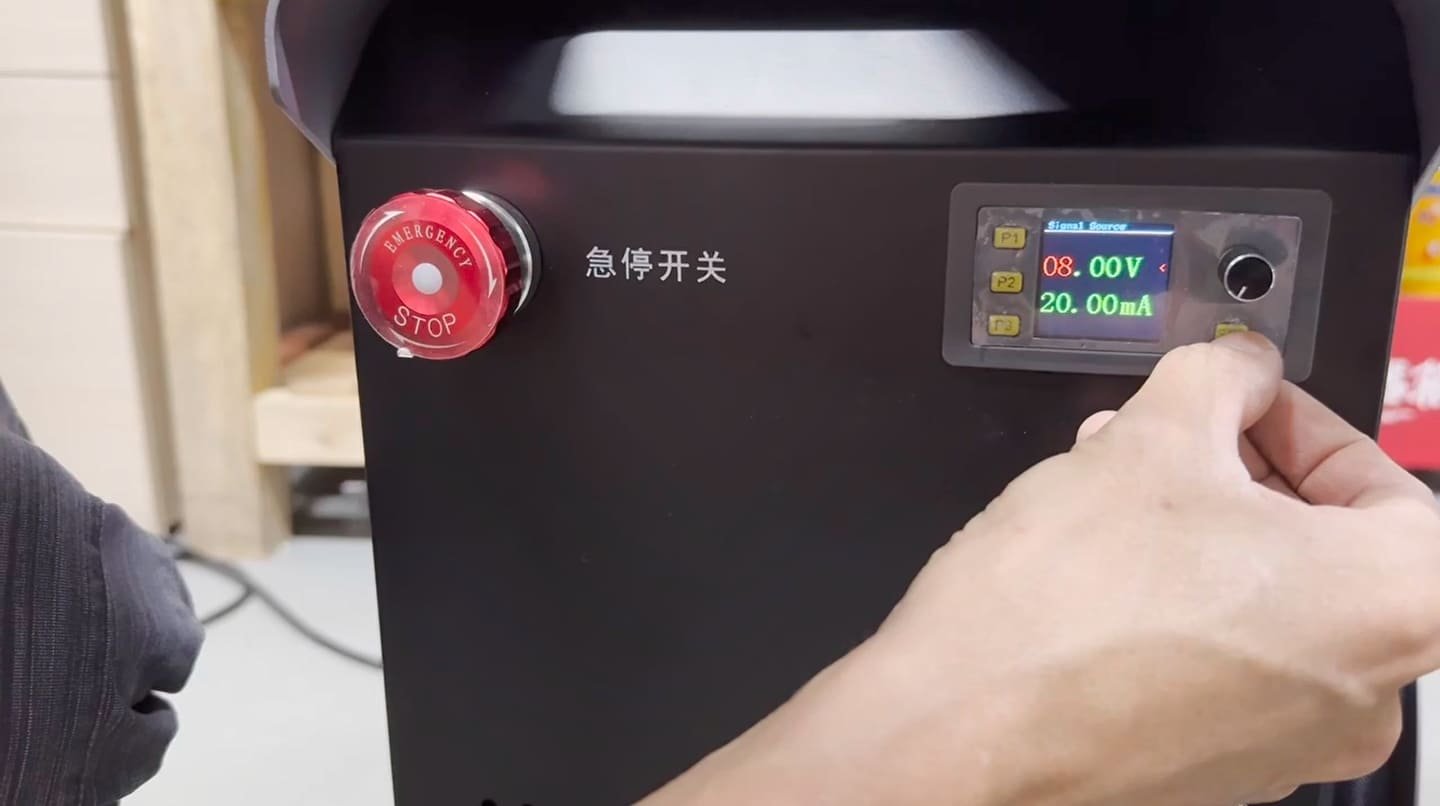
- P1 Mode:
- Adjust power.
- Rotate the voltage knob to 8V.
- Keep the current at 20mA.
- Press confirm and then set to exit the mode.
- P2 Mode (Pulse Adjustment):
- No settings needed.
- P3 Mode:
- Rotate the voltage knob to 8V.
- Keep the current at 20mA.
- Return to P1 and press the knob to confirm.
- Ensure the multifunction signal generator indicator turns red before emitting light.
For 1.0mm Welding Thickness:


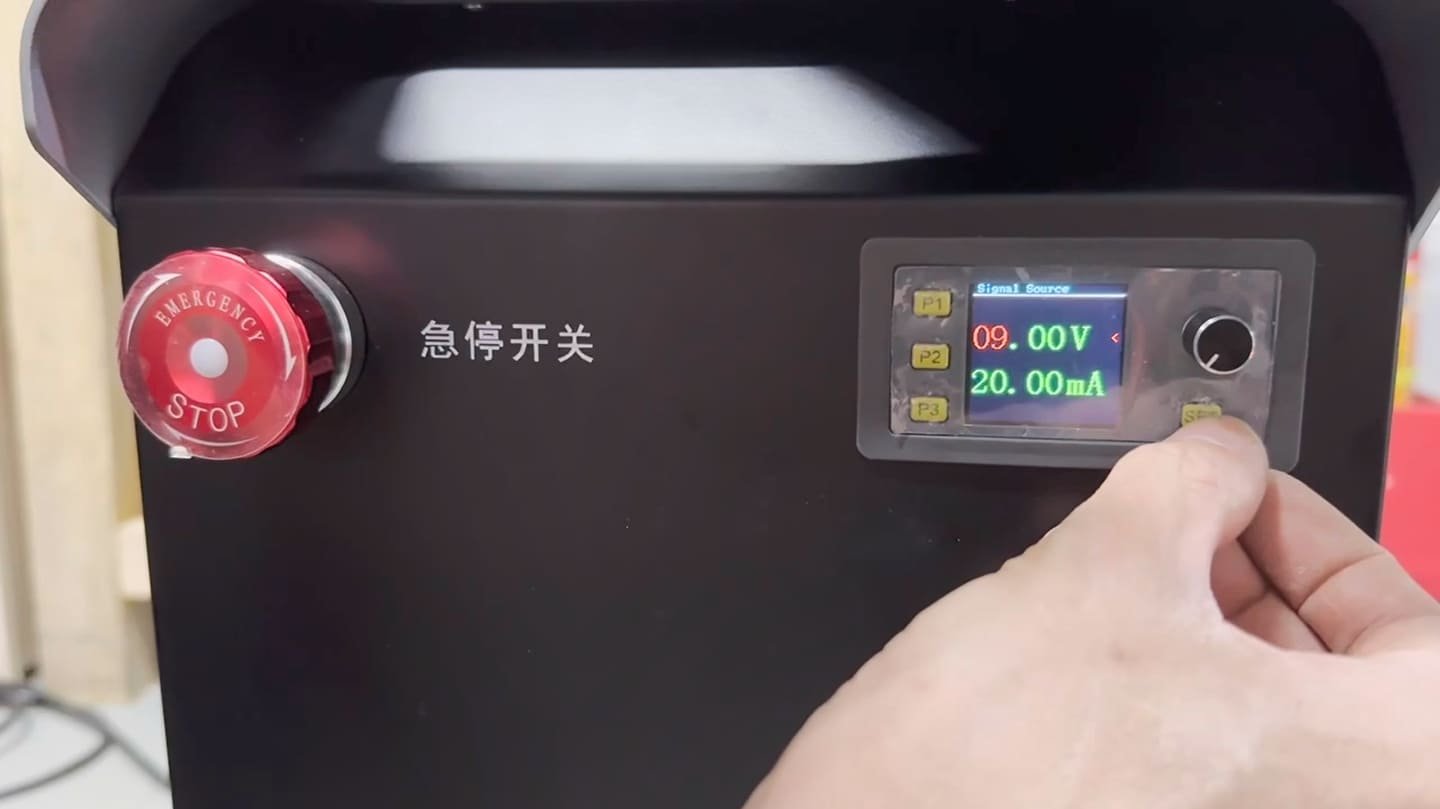
- P1 Mode:
- Adjust power.
- Rotate the voltage knob to 9V.
- Keep the current at 20mA.
- Press confirm and then set to exit the mode.
- P2 Mode (Pulse Adjustment):
- No settings needed.
- P3 Mode:
- Rotate the voltage knob to 9V.
- Keep the current at 20mA.
- Return to P1 and press the knob to confirm.
- Ensure the multifunction signal generator indicator turns red before emitting light.
For 1.2mm Welding Thickness:
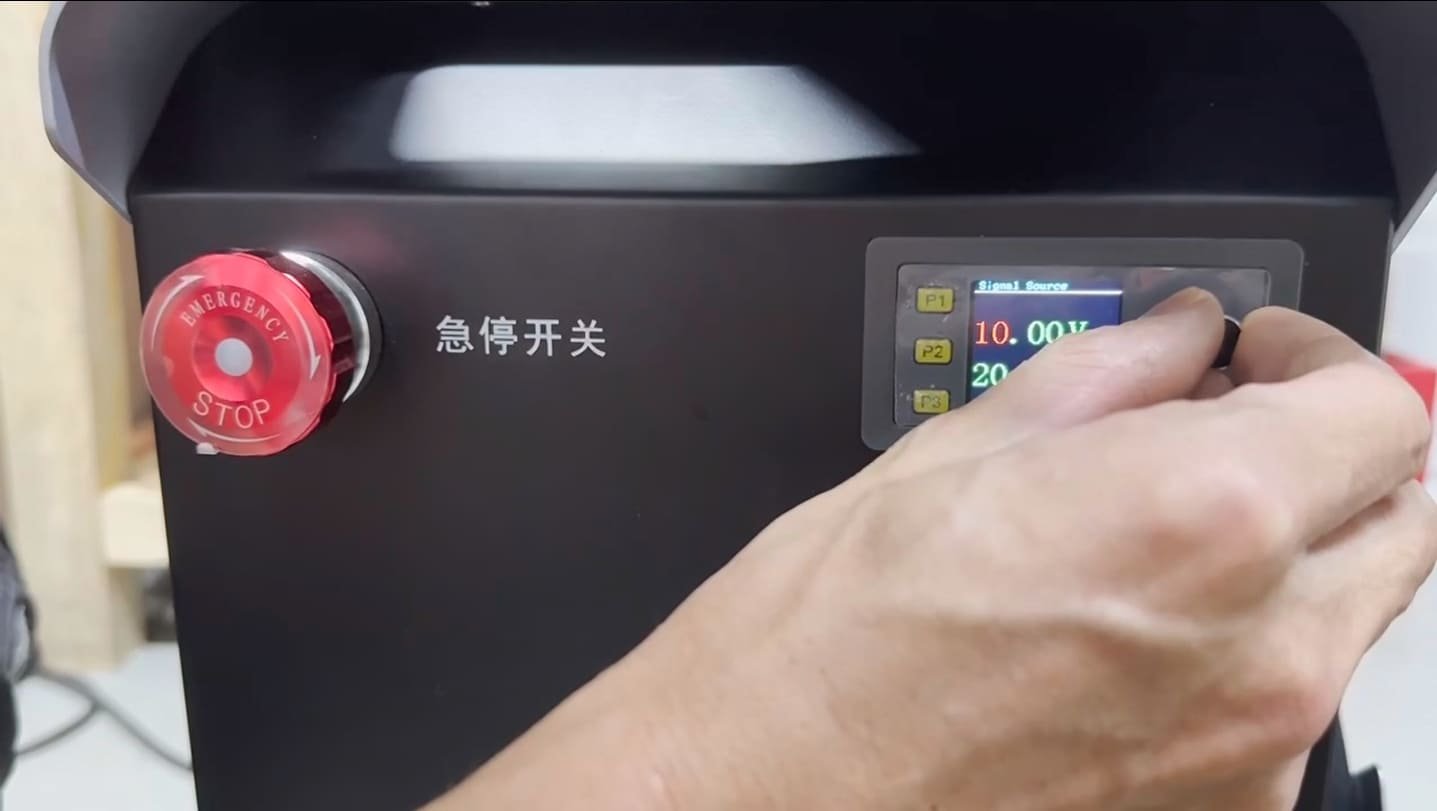
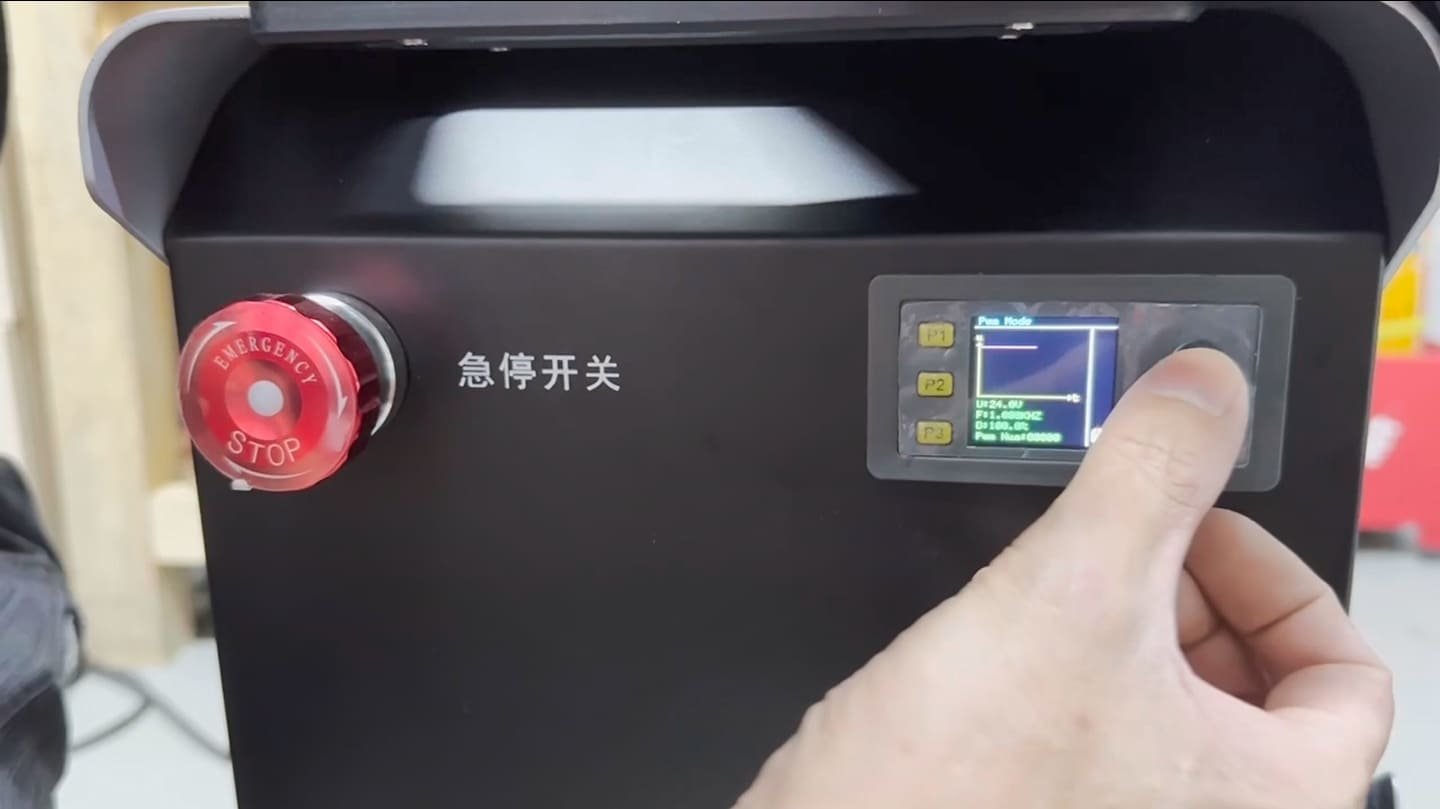

- P1 Mode:
- Adjust power.
- Rotate the voltage knob to 10V.
- Keep the current at 20mA.
- Press confirm and then set to exit the mode.
- P2 Mode (Pulse Adjustment):
- No settings needed.
- P3 Mode:
- Rotate the voltage knob to 10V.
- Keep the current at 20mA.
- Return to P1 and press the knob to confirm.
- Ensure the multifunction signal generator indicator turns red before emitting light.
For Fish Scale Welding:
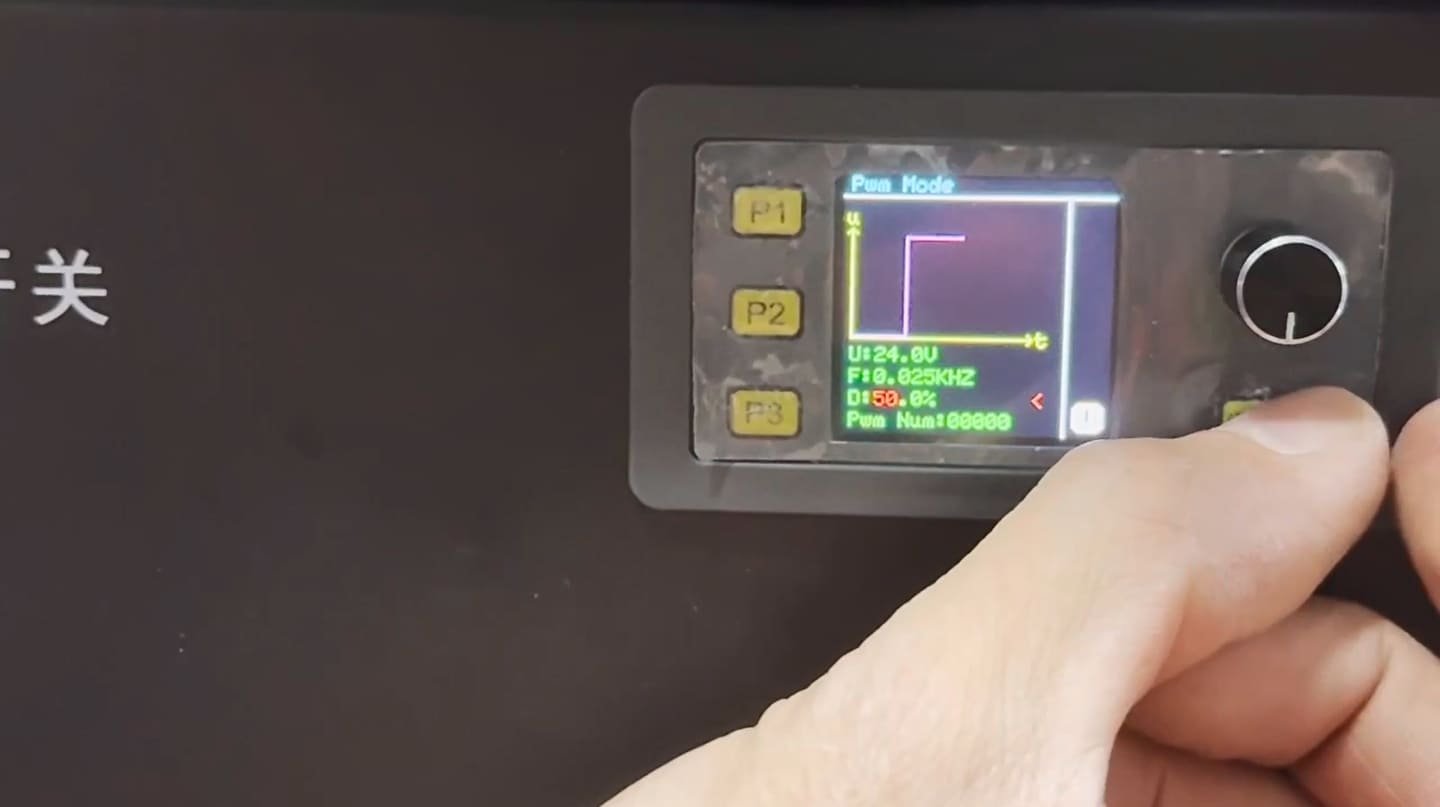

- P1 Mode:
- Adjust power to 0.025KHZ.
- Set duty cycle to 50%.
- Rotate the voltage knob to 10V.
- Keep the current at 20mA.
- Press confirm and then set to exit the mode.
- P2 Mode (Pulse Adjustment):
- No settings needed.
- P3 Mode:
- Rotate the voltage knob to 9V-10V.
- Keep the current at 20mA.
- Return to P1 and press the knob to confirm.
- Ensure the multifunction signal generator indicator turns red before emitting light.
Step 3: Safety Precautions
- Laser Protection: Wear a laser protection face shield and gloves.
- Emergency Stop: Press the emergency stop button to start welding.
By following these steps, you'll be able to operate your handheld laser welding machine safely and effectively. Happy welding!
